
Nothing helps sell your next project like showcasing your amazing finished projects on your website or social media channel. Unfortunately, sometimes the photo quality doesn’t do justice to your work and can lead to more questions from your customer rather than excitement about what you can produce for them. Luckily, creating an outstanding project portfolio isn’t as difficult as one might think. Here are a few simple steps to consider the next time you’re out shooting one of your finished projects. Be sure to follow them, send us your pictures and story, and maybe your project could become one of our next customer stories featured on our site.
Use the Right Equipment. We strongly recommend using a good DSLR camera and tripod if at all possible to take your photos. The camera quality will be directly reflected in the picture quality, especially in the ability to correctly represent color. The tripod will help to minimize camera shake, which will provide a more clear and sharp image. While it may be tempting to take pictures with your phone, a good camera will give you more flexibility to capture a cleaner, crisper image and a tripod will ensure a stable shot. If you must use a phone, make sure you’re using only the most recent phones with the best cameras, and invest in a tripod to stabilize the phone.
Resolution. Always take your photos in the highest resolution possible. While this will equate to a larger file size and mean you’ll need more storage, it will also ensure that your picture quality will be top notch no matter the size or if you’re using your photo in a print ad or on the web. Today’s website visitor and online shopper want to see big, bold, beautiful images. Give them what they’re looking for with a high resolution image.
Lighting Is Everything. Chances are you’ll be shooting your project outside, so definitely consider the time of day for your shoot. High noon might have the most light, but that light can be very sharp and unflattering at some angles. Late afternoon and early evening are always great times for good lighting, but if your project has particular features such as dramatic night lighting or beautiful sun filtering, you may want to consider shooting at different times to make the most of those features.
Work the Angles. Just like you have a best side, so does your project. In fact, it probably has several, so be sure to capture as many angles and perspectives as you can. It’s always better to have too many shots than to wish you had taken more. Don’t be afraid to experiment with creative points of view to showcase different features, as this can be a great way to showcase hardware, designs and other unique features that you may not see otherwise. If you have a ladder on site, try setting it up to capture the project from a bird’s eye view.
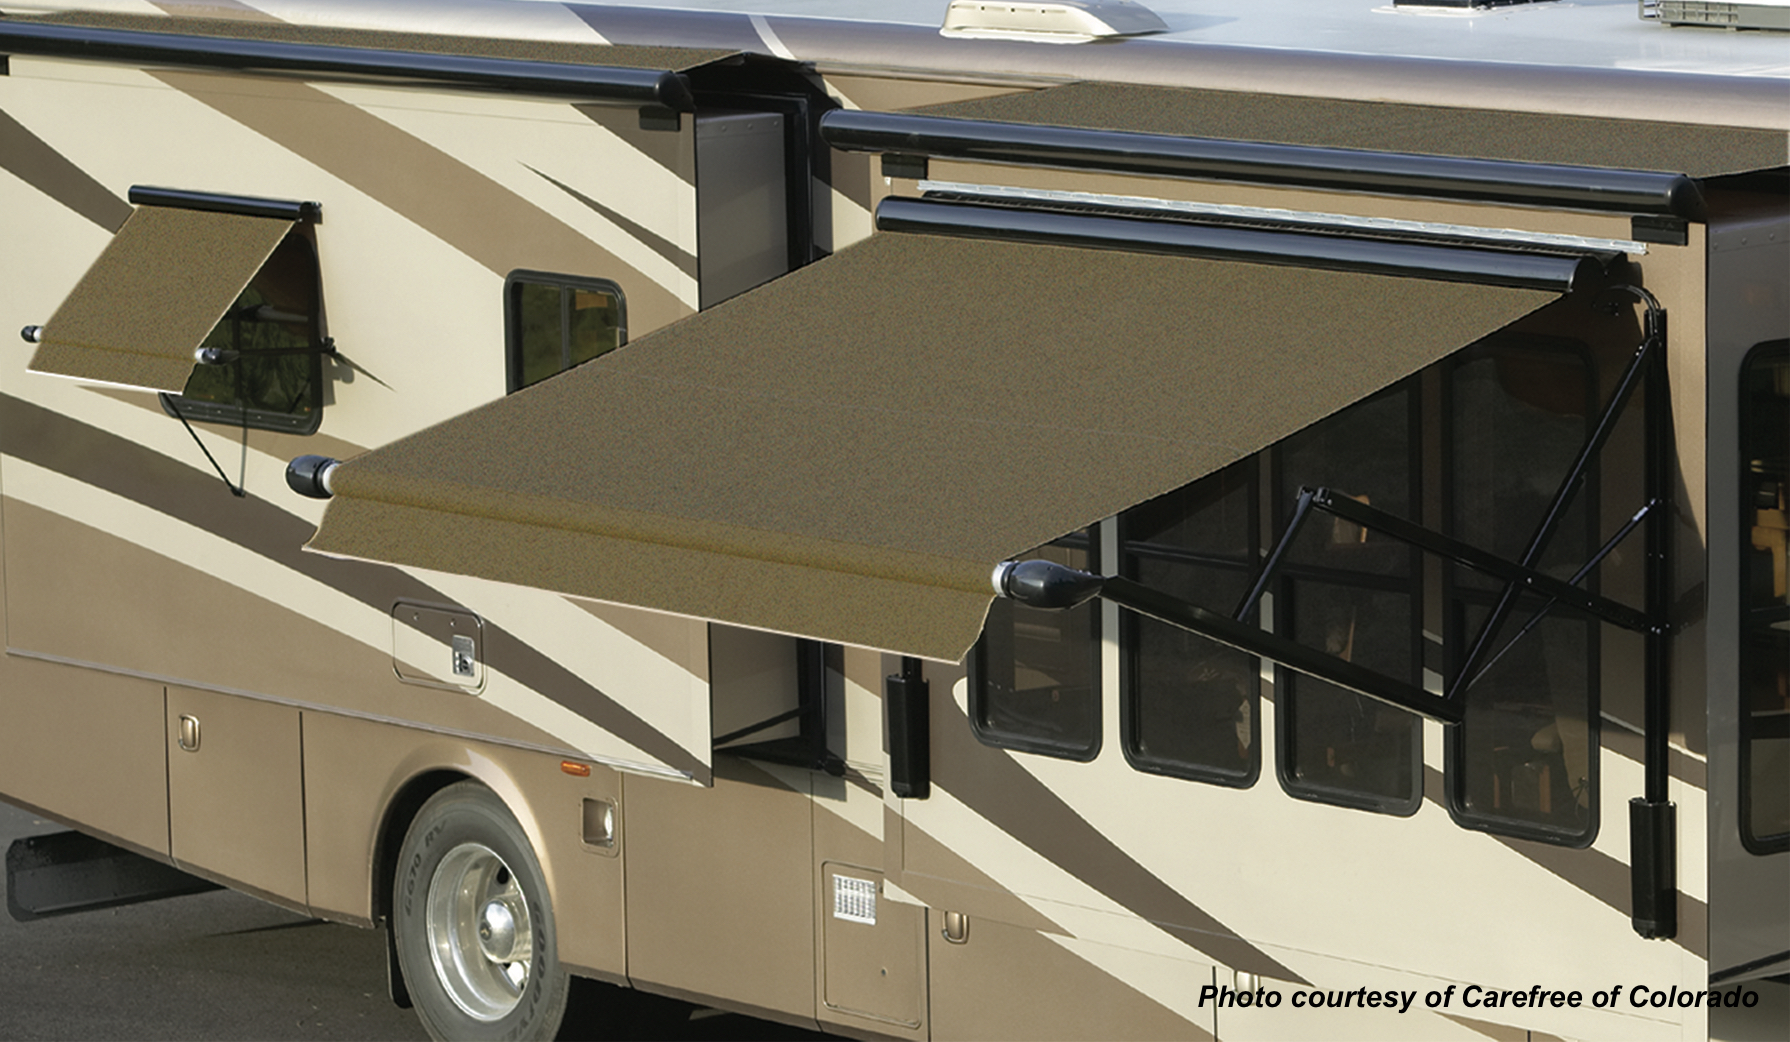
Don’t Shoot Until the Set Is Ready. One of the most common problems with project photography in our industry is “tunnel vision” that focuses on the project item only, rather than the whole environment surrounding the project. That lack of full perspective means that your project item might look great, but the overall photo looks unprofessional, unattractive and unappealing to your prospective customer who views the whole area, not just your work. Remember that your project is part of the overall presentation of the building, boat or structure, and take the photo with that in mind. For example, if you’re installing an awning, step back and look at the placement of the awning on the full building. Make sure that the ladders, work vehicles and waste bins are removed from the shot. Look at the building as an approaching customer would, and make sure that the business looks appealing, including your work on the awning.
We hope you try some of these tips and send us your photos of RECacril® and RECwater® projects, we’d love to see the results!